How to use Podium Browser cloud domes
Note - The addition of HDR image-based lighting in SU Podium V2.6 has replaced cloud domes as the recommended method to add a sky and background to an exterior SketchUp scene
SU Podium V2.6 users should read about HDR image-based lighting here. Podium Browser's 360° trees and backgrounds remain useful even for SU Podium V2.6 users, but Podium Browser cloud domes are not generally recommended when it is possible to use HDRI lighting.
SU Podium V2.5 users will still find the following information about cloud domes useful and applicable.
Introduction: Where to find the cloud domes and panoramic backgrounds:

We've added three new categories to the Environment tab in Podium Browser (shown above):
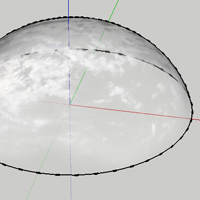
Cloud domes: Cloud domes are half-sphere domes with 360° cloud images mapped to the geometry. These are meant to be used with Podium Physical Sky 2 to easily add a variety of clouds to your renders and exterior panoramas.
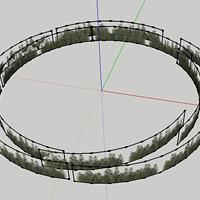
180 and 360° backgrounds: We've also uploaded 180 and 360° panoramic background images that can be used along with the cloud domes to add detail to your background/horizon. These image planes will make the transition from sky to background more believable, and contribute realistic reflections to your scene.
How to use the Cloud Domes - Intro Video:
This embedded file is quite large. If you're on a slower connection, click here for a smaller version.
In this video we go over the use of Podium Browser's cloud domes and panoramic background images. Most of the basics are covered in the above video, but if you're looking for a quick reference, the same info can be found below.
How to use the Cloud Domes - Important points:
1. Cloud domes must be used with Podium Physical Sky (Preferably Physical Sky 2)
These are not a replacement for the Podium Physical sky system, and SketchUp sun/shadows.
In other words: These are not HDR sky domes, and cannot be used for image based lighting. Podium Browser cloud domes are used to add realistic detail and interest to your image from within Podium instead of adding a sky in post-processing. Both Physical Sky one and two will work, however, physical sky two has more true-to-life tonemapping:
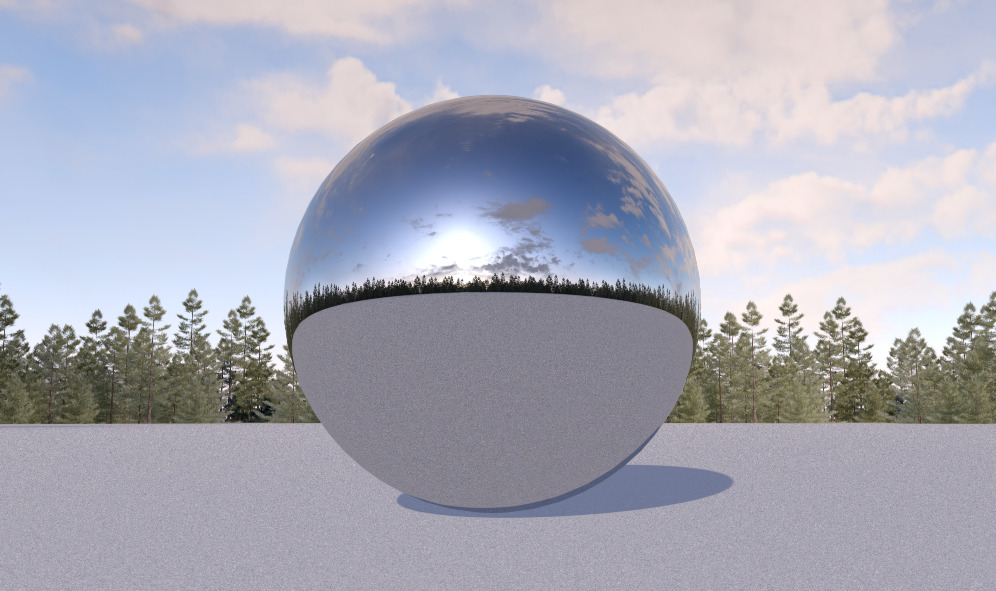
Cloud dome with Physical Sky 1
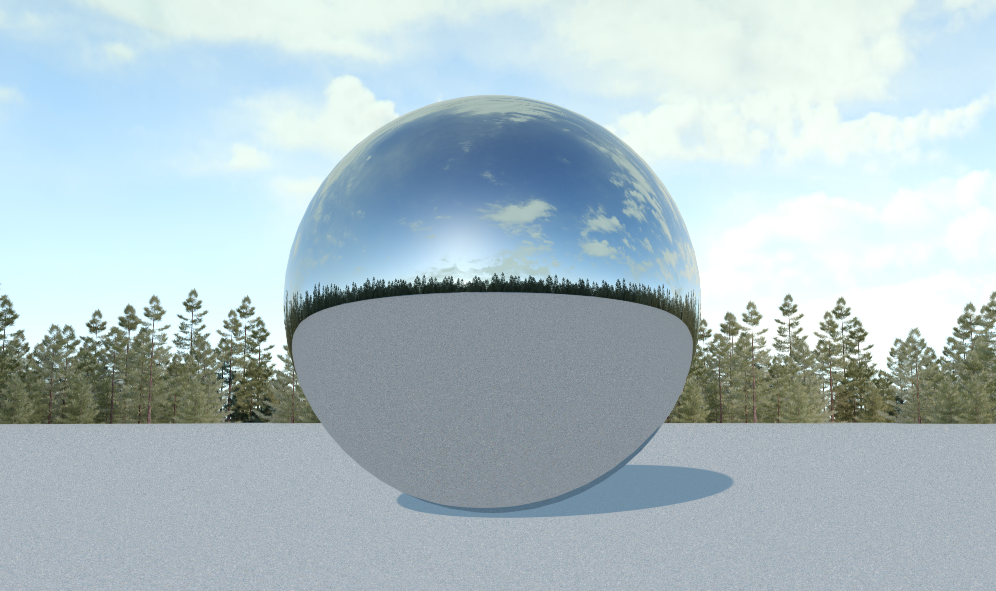
Cloud dome with Physical Sky 2
2. Cloud domes obey SketchUp's sun and shadows:
This means clouds that are facing the sun will be brightly illuminated, while clouds that are between the sun and camera will appear in shadow.
Shadow casting: Cloud domes cast shadows in your scene, just like any other piece of geometry would. This can be turned off using the "Cast Shadows" option in the materials dialog.
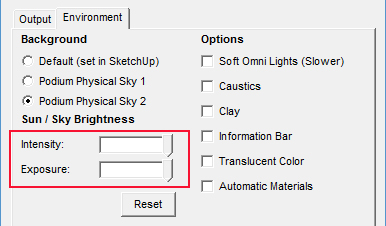
3. Boost intensity and exposure sliders:
Cloud domes block a portion of the light from reaching your scene. In most cases you will need to boost the intensity/exposure sliders in Podium's environment settings.
This will likely vary from scene to scene; adjust accordingly.
4. The scale of the dome impacts the brightness of the clouds:
Typically, the bigger the dome, the brighter the clouds. Remember that clouds in direct sunlight, should be quite bright, while clouds in shadow often appear closer to a neutral grey. Keep this in mind and adjust accordingly.
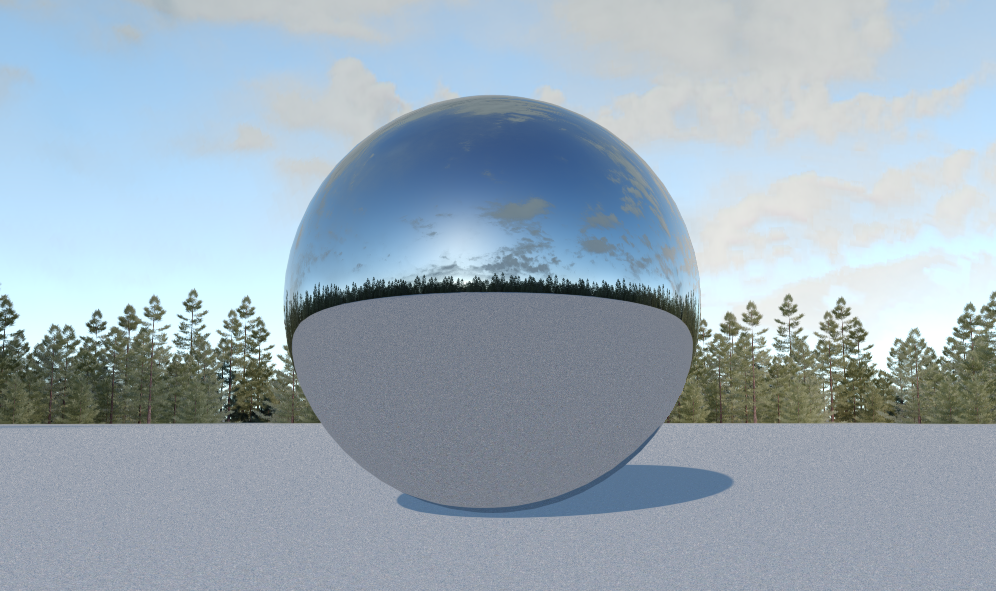
Cloud Dome - Default Scale
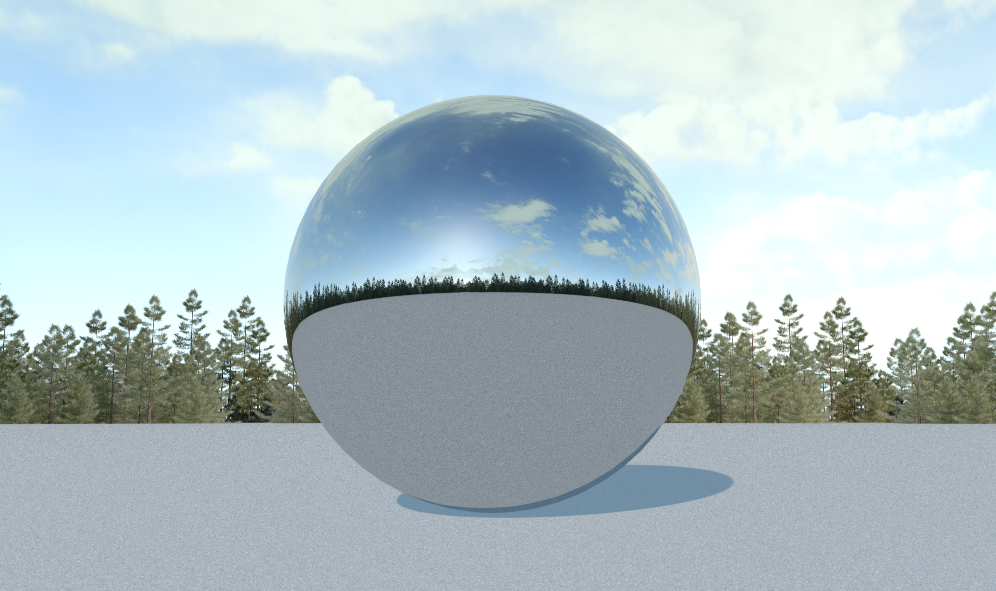
Cloud dome - Enlarged by approx 200%
These two images show the same scene, with the exact same lighting and Podium render settings. The only difference is that the cloud dome in the second image has been enlarged by a factor of approximately 200% to demonstrate how the scale of the dome can affect the brightness of the clouds.
5. Additional tips:
Place the bottom of the dome beneath the horizon to hide the transition from ground to sky. The 360 and 180 degree background images can also assist with this.
The thin stratus clouds are typically easier to use: The stratus cloud domes work well with most sun angles, and SketchUp day/time settings (including dusk and dawn). The cumulus cloud domes are a bit more temperamental, and tend to work best with daytime lighting.
